I have been doing quite a bit of canning lately, and one of my favorite methods to use is the hot water bath. There is no pressure involved and it doesn’t require any fancy devices… although some things can make the process easier! One important thing to note is that not everything can be safely canned using the water bath method. Be sure to only use this for recipes or items that can safely be canned this way! One of my favorites is my Homemade Spaghetti Sauce recipe!
First, a couple of things that you do need. You will need a large pot with a wire rack in the bottom to keep your jars from touching the bottom of the pot. Personally, I use the Ball FreshTech Electric Water Bath Canner and Multi-Cooker. I like this because I can plug it in and use any counter space instead of it taking up room on my stovetop. Whatever pot and rack you choose, it must also be tall enough to cover the top of your jars with at least one inch of water, preferably a little bit more! Secondly, you will need lids with bands (bands can be reused, lids cannot) and jars! A special tong type of tool used for moving the jars into and out of the boiling water is also nice! They can be found in the canning section of most stores.
Before I do anything else, I like to set up the pot and rack and get it boiling. Because it is so large, it can take quite awhile. You can also heat up your (clean) jars in there while bringing it to a boil. One key to water bath canning is that you want everything to be hot! Just submerge your open and empty jars (careful so they aren’t touching) and turn on your stove or cooker. Adding a little vinegar helps with water spots on the jars too! I have also used the high heat wash setting on the dishwasher to heat my jars and had success with that. Just be sure they run through the whole cycle if you use detergent, or just use high heat on already clean jars.
While that’s working on heating up, make whatever you are planning to water bath can. Again, make sure it is safe to use this method to can your product! Make sure it comes to a boil because, again, we want everything hot!
It sounds silly, but boil the lids too! Supposedly by heating up the lids, the rubber seal on them softens which makes it easier to seal! Separate them before putting them in water (separate pot from everything else) and just heat them up to a boil!
Once everything is hot, ready, and boiling… you are ready to fill your jars! Remove them from your boiling water or dishwasher. Carefully fill them with your product, taking care to leave about 1/2 to 1 inch of space from the top. I generally shoot for a full inch unless I’m canning jams or jellies. Place the lid on top and use the band to secure it in place.
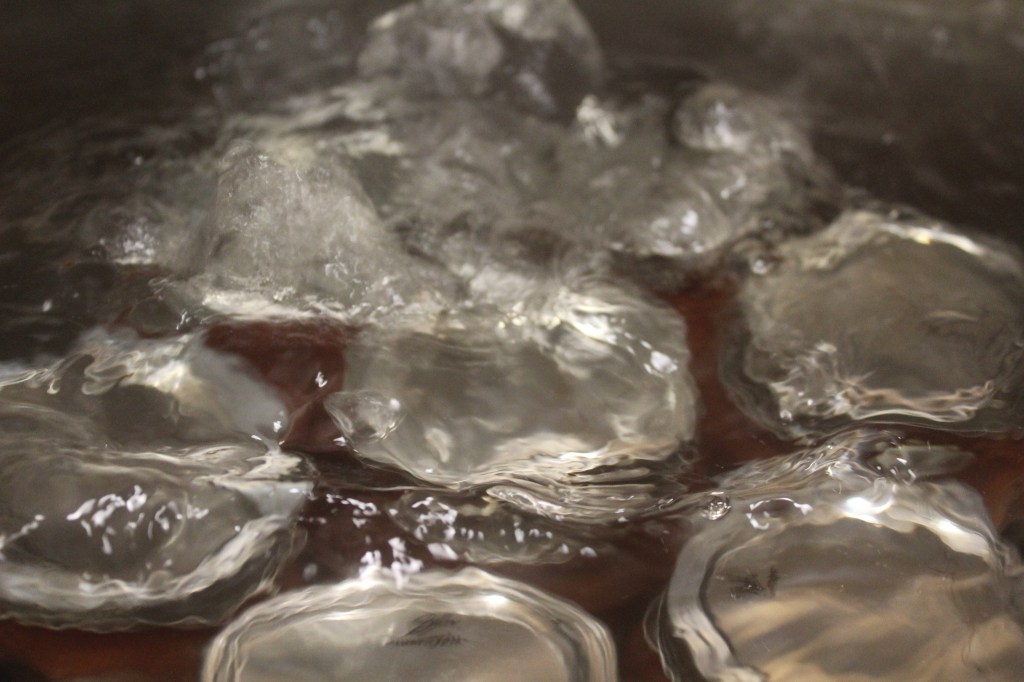
Next, place your filled jars in the boiling water bath. Make sure that they are not touching and that they are covered with at least an inch of water. Once your jars are in place and the water returns to a boil, you can start your timer for the recommended time needed to seal the jars based on what you are making. The spaghetti sauce listed earlier boils for 65 minutes, while many jams and jellies are closer to 10 minutes.
After your timer goes off, carefully remove the jars, tipping only slightly to remove the water sitting on top and set onto towels laid on the table or counter to cool completely. As your jar’s contents cool, you will hear a POP, meaning the jar sealed! Trust me when I say… it’s a very exciting sound! Some will pop quickly and others will take some time. Be sure all the lids are sealed before storing and do not remove the bands until the jars have completely cooled! You do not need to leave the band in place after the jars are sealed for storing.
I hope this was helpful to you and you feel confident and ready to take on water bath canning! Please let me know if you have questions or feel that I missed something! I will be sharing more recipes in the coming weeks! Be sure to check back and subscribe so you don’t miss out! Good luck and happy canning!


3 responses to “Water Bath Canning Made Easy”
Very informative. Thanks for sharing, Id give it a try!
LikeLiked by 1 person
Thank you for your comment! I’m glad you found it helpful and I highly recommend trying it! It is very rewarding! 🙂
LikeLiked by 1 person
[…] using a water bath… no pressure cooking! You can read my post about easy water bath canning here! We just finished our last jar of sauce from 2021, so it lasted all year and was still […]
LikeLike