Saving seeds can be a cost-effective way to have tons of flowers! AND it is easy! It just takes a little bit of time! Please note that when you save seeds, they are not necessarily going to be exactly like the flower you collected them from unless you have them isolated from all other plants (which is very unlikely). This is also the case with hybrid plants because they were pollinated from specific parent plants. Sometime, I will take a deep dive into all I know about plant genetics, but for now, let’s save some Cosmo seed!
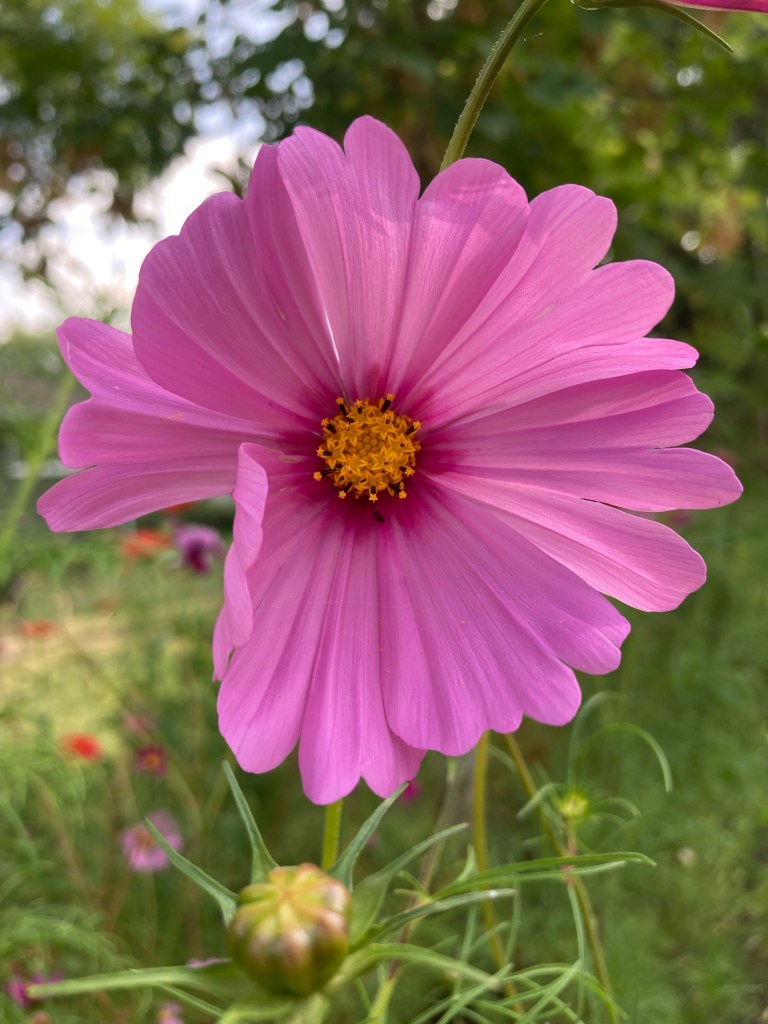
One of the coolest things about collecting seed is that you get to watch the plant through an entire life cycle. You have to leave some flowers on the plant and allow them to be pollinated, produce seed, and dry in order for you to collect the seed! With Cosmos, I started letting my flowers go to seed about a month before my area’s average first frost date (which can be found using a quick google search for your area). This allows for plenty of opportunity to collect seeds!
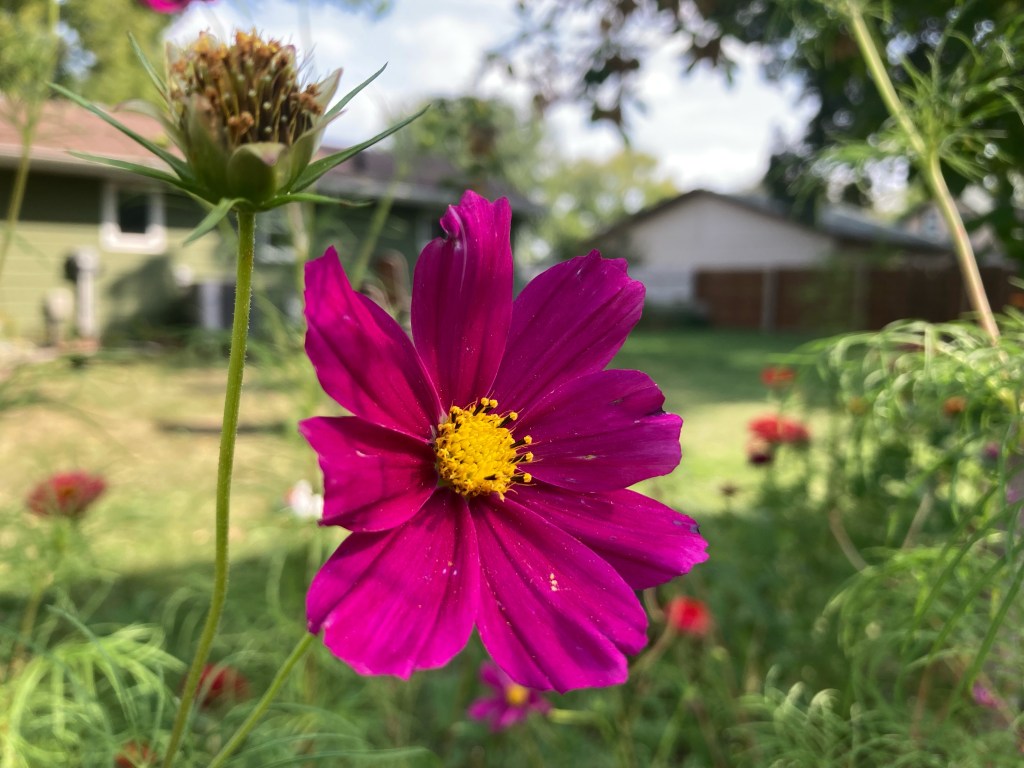
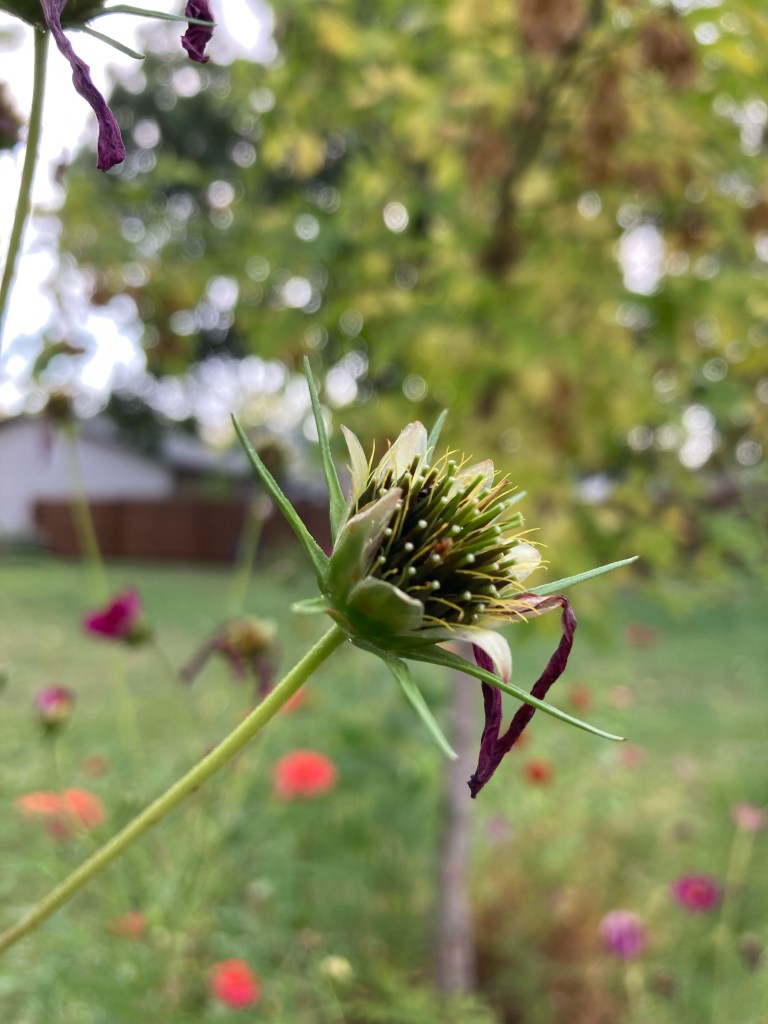
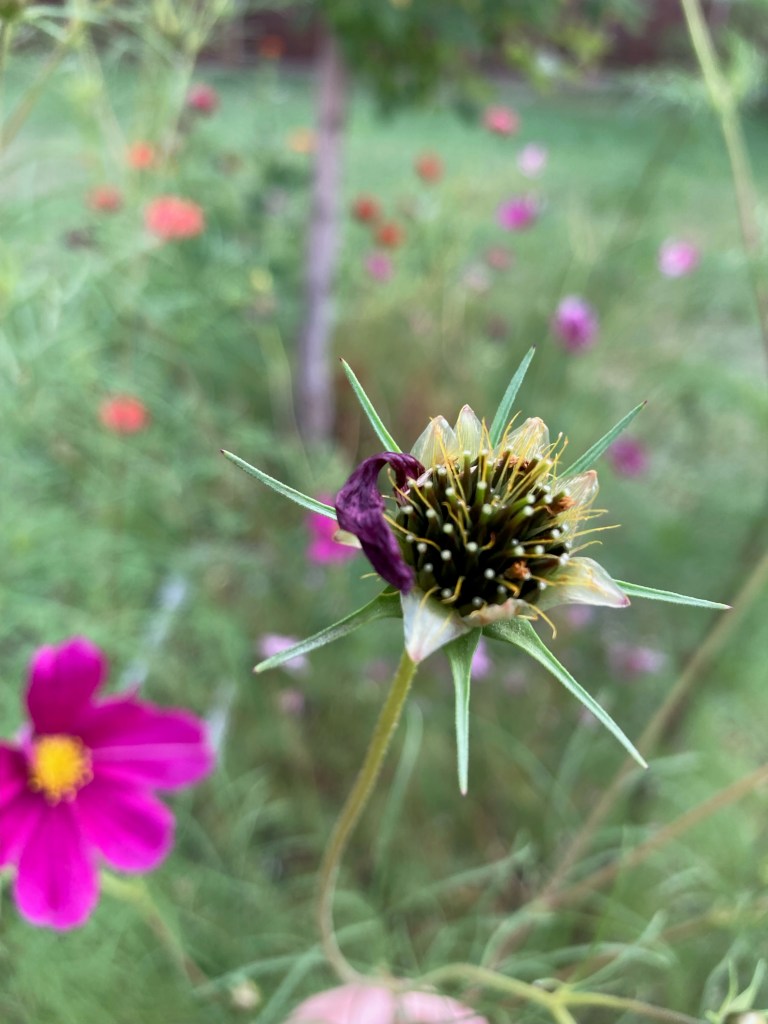
The first thing you will notice is the flower petals start to dry up and fall off. Next, you will be able to look at where the flower was, and see seeds forming. Wait until you see black seeds, then cut the head off and place on a plate or tray to finish drying and maturing!
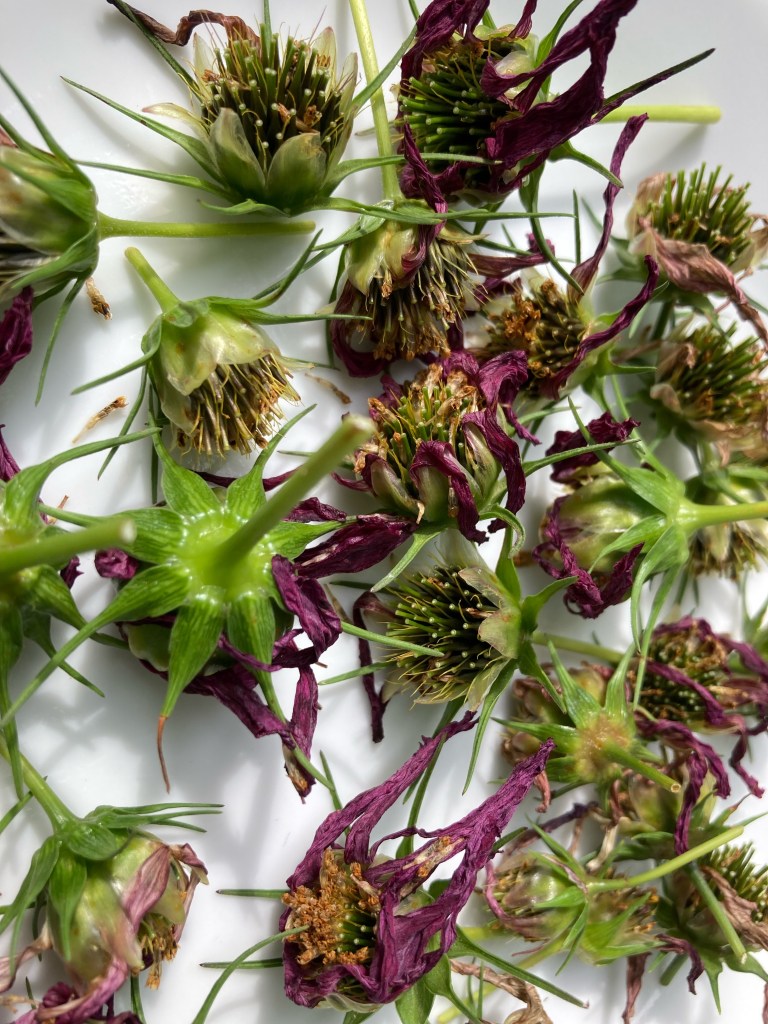
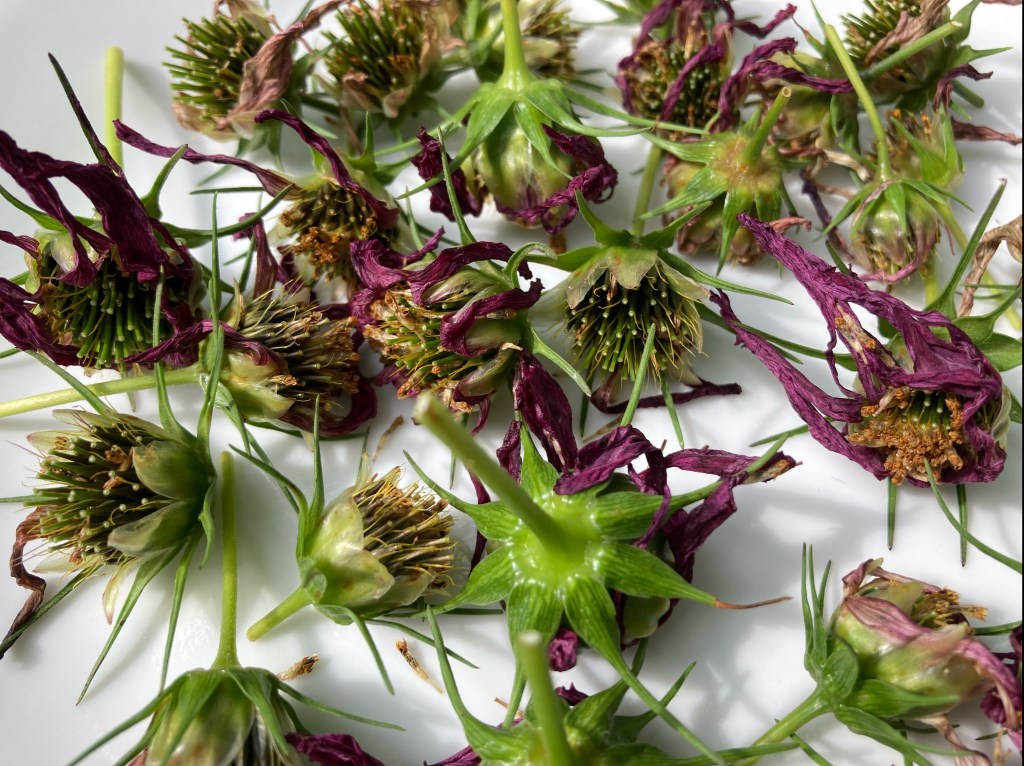
Allow the flower heads/seeds to dry on the plate or tray for several days to a couple of weeks. The more dry they are, the easier it will be to separate your seeds from the rest of the plant material!
After they are dry, use your hand to sort of crush and crumble the plants, which will separate the seeds from the flower heads. I have seen videos of larger scale flower farm seed saving where they stomp on the dried plants to collect the seed… but this method works great for small-scale seed saving intended for personal use!

This next part sounds silly, but it works pretty well to separate the seeds without the use of any equipment! On a breezy day, take your tray outside and just take small handfuls of your seed material and sprinkle it back onto the plate. You can also use a fan for this, just play with the settings so that it blows away the extra material and not your seed! The seeds should fall back onto the plate while the “extra stuff” blows away with the wind. Honestly a fan might be an easier bet, but I happened to have the perfect amount of wind the other day which allowed me to separate these seeds!
It might take going through it a few times to separate your seeds. I would also recommend doing this outside regardless of if you are using the wind or a fan. Eventually, you will have a plate full of cosmo seeds! Allow the seeds to dry out a couple more days then store them in a dark, dry place until you are ready to plant! There are packages made specifically for this purpose, but I usually use a sealable plastic bag (just be sure they are completely dry so they don’t mold!) placed in an old coffee can. Be sure to label your seeds with the type and year!

