We are getting into the season of harvesting garden produce here in Minnesota, so it seems like a fitting time to chat a little about about one of my favorite preservation tools… the food vacuum sealer! We have a FoodSaver and absolutely love it! Caleb got it as a gift a few years ago and we use it constantly during this time of year!
Vacuum Sealer Uses
I don’t know about you, but I love frozen vegetables. I greatly prefer them over canned versions. Many of the vegetables that we preserve, including broccoli and green beans, are frozen in vacuum sealed bags. They last all year long! I’m sure they would last longer but we generally eat everything by harvest season of the following year! We also vacuum seal some of our herbs if we have extra!
We also use a vacuum sealer to seal hamburgers, chicken, and meatballs in smaller portions. We will seal chicken breasts, for example, in sets of two since we are a family of two. If we have company, we just grab more bags! Thawing meat is also really convenient with these because the package can be placed into cold water in a sink or bowl without worrying about cross contamination or whatever because the bag is sealed! Meat also seems to thaw much more quickly!
Using a Vacuum Sealer
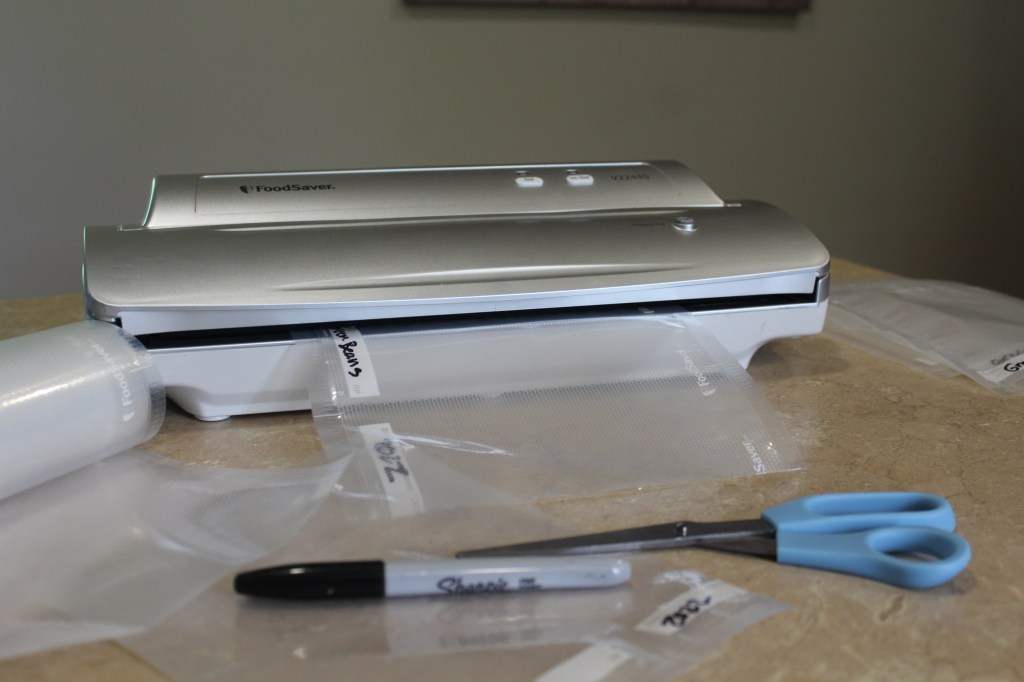
I’m not a professional or anything, but we do use our vacuum sealer frequently, so I will explain how we use it! There may be other methods out there as well and keep in mind we have a FoodSaver, so some others may work differently!
- Freeze whatever you plan to seal separately. We use cookie sheets for meats and vegetables. Because the machine will vacuum out any additional air, it will also suck out any of the juices in meats or whatever you are sealing. If it is already frozen, the juices will be frozen with the food!
- Cut the bags to desired size. They come in long rolls of varying width. Cut to whatever size will fit what you are sealing! Be sure to leave a little extra space because you will need to seal each end!
- Seal one end of the bag.
- Label with the product and date/year. I always label the year for garden produce but not always the exact date. When sealing meats like chicken that have an expiration date (when frozen), I write expires and that date!
- Place desired amount of food in bag and use the machine to vacuum extra air out and seal!
- Place in the freezer and use when you want to without worrying about freezer burn!
Tips, Tricks, & Final Thoughts
If bags don’t seal, readjust them and try again! Sometimes there is an air leak somewhere and you will have to use a new bag!
Portion everything out into what will work best for you and your family! We package everything in sets of two or the amount that the two of us would generally eat. You can always take out additional bags if needed!
Thawing is super simple! Just toss the package in cold water!
Have I convinced you that you need this yet? 🙂 We seriously love ours and ours is very easy to use! I am not an affiliate or anything… I just like to share my own experiences! Let me know if you have other tips and tricks! 🙂


2 responses to “Garden Preservation: Food Vacuum Sealer”
Sounds like something that would come in handy for Rich and me. Thanks for the info.
LikeLiked by 1 person
No problem! We love ours! 🙂
LikeLike